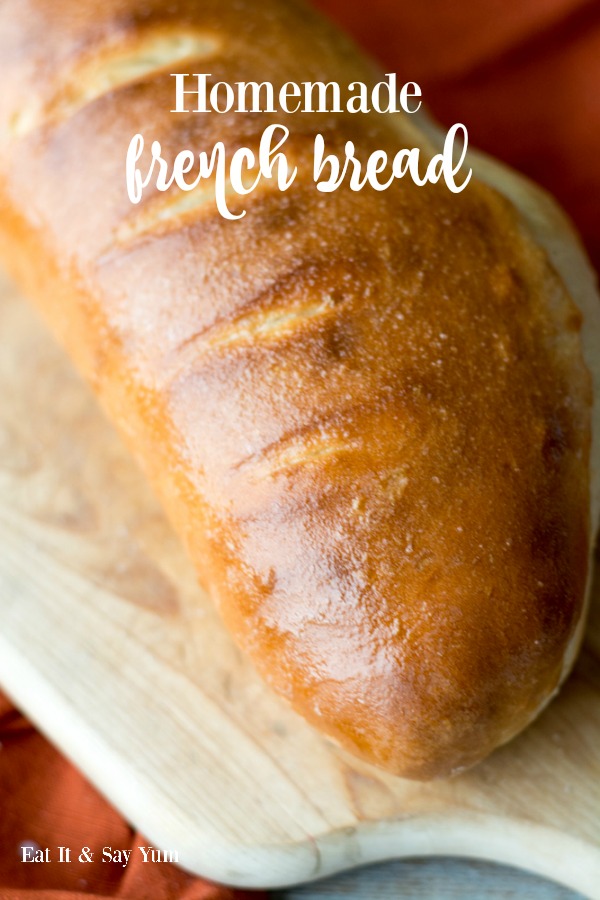
Homemade French Bread that is light and airy, brushed with melted butter, and delicious to eat.
Growing up, my mom always made homemade french bread on Sundays. It was so good. She could whip it out so fast, and it seemed as if with no effort, too.
Now that I’m older, and I have dabbled in making bread, I realize those loaves don’t come without some knowledge, effort, and practice. For years I tried to make bread that was light and airy, and had good flavor. But I failed. Lots.
Until recently. I now have a recipe and method for making french bread that I LOVE.
The method isn’t difficult, especially if you have a stand mixer, but you can do it by hand as well.
The trick is letting the dough rest during the kneading process. I mix my ingredients together, and knead, but then allow some rest time and then knead again.
Also, if you have a pizza stone, I suggest trying some loaves out on it. I like to bake on pizza stones to get a nice crisp crust on the bottom. But regular baking sheets will work just great for this recipe, too.
And after the bread as baked, I brush some really soft butter over the crust. Then I sprinkle a little salt over that. Not a lot, just a pinch. The butter and salt make for a great salty bite of bread.
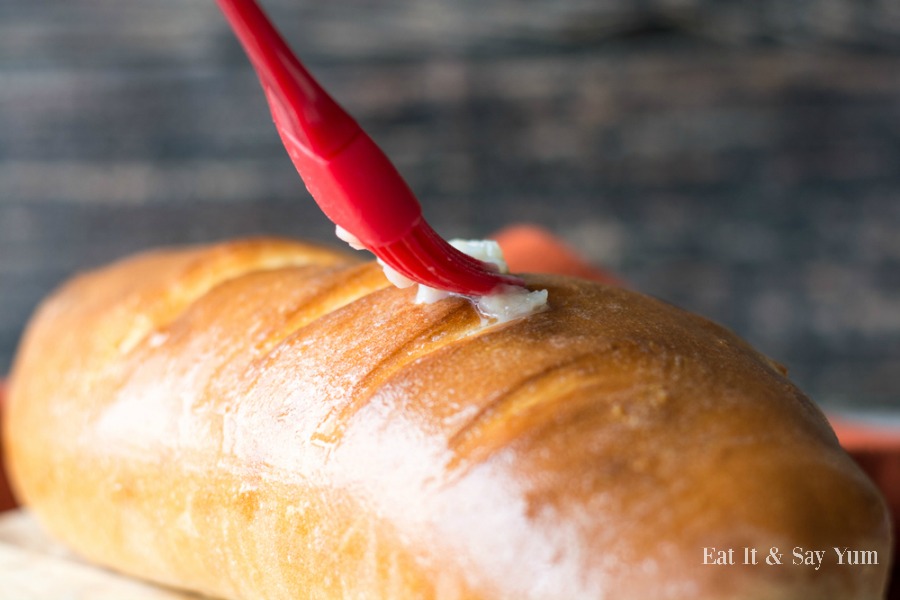
If you want to save your loaves to be eaten at a later date, don’t brush the butter on them. If the bread sits too long with the butter on it, it can get a little soggy.
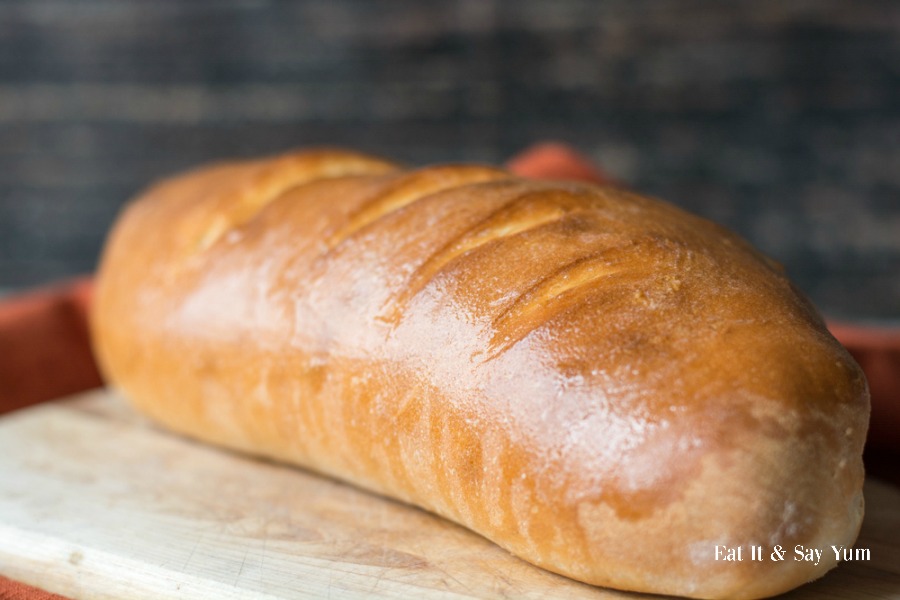
For this recipe you can make the dough into one larger loaf, or two smaller loaves. The one in these pictures is a small loaf.
Excuse me while the geeky baker in me comes out… Do you SEE those air pockets in there!? And the steam rising out of the fresh baked bread as you slice it? *drool* On my goodness. I might have to bake some more bread today.
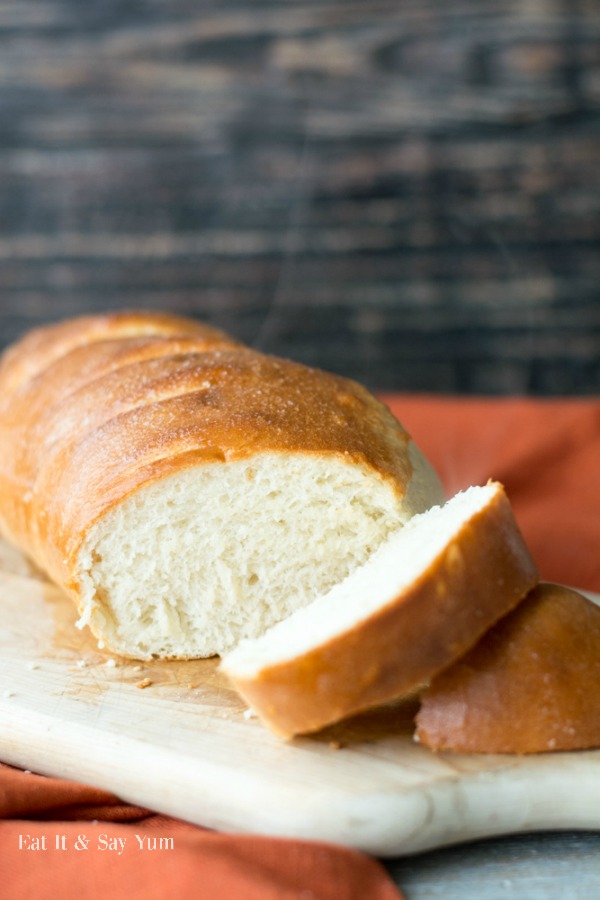
One last tip, when letting your loaves rise, you can loosely cover them with a moist, light-weight, towel, or paper towel. This will help the crust of the bread not split. Also, I cut slits along the top of my loaves, for aesthetics, but also to allow the load to expand as it rises.
This bread is perfect for dipping into your favorite soups, serving with Spinach Dip, or toasting up and spreading jelly on it. Or just plain. Or as french toast. Or as a side dish with any meal. Or sliced thin and used for sandwiches. It’s just good.
Ingredients
- 1 1/2 cups warm water
- 1 Tbs yeast
- 2 tsp salt
- 3 Tbs sugar
- 1 Tbs oil (olive, vegetable, canola, etc)
- 3 1/2 cups flour (plus a little more if dough is too sticky, and for shaping the bread)
Instructions
- Mix the first 5 ingredients in the bowl of a stand mixer, for about 10 seconds. Then let it sit so the yeast can activate- about 5 minutes.
- Add the flour, 1 cup at a time, with the mixer on, then add the remaining 1/2 cup when the dough is starting to come together.
- Let the machine knead the dough on a low speed for about 5 minutes. Then turn the machine off and let the dough rest for 5 minutes. Turn the machine back on and knead for 3 more minutes. If doing this by hand, increase each kneading time by about 2 minutes.
- Shape the dough into one large loaf, or two smaller loaves. Using extra flour to sprinkle on your work surface and hands.
- Place loaf/ loaves on greased pans, and cut slits diagonally along the tops. Cover with a damp paper towel, or light-weight towel and let the bread rise in a warm spot, while your oven preheats to 400 degrees. (If using a pizza stone: heat the stone in the oven while the oven is preheating. Let the loaves rise on your floured work surface, then gently move them to the hot stone when ready to bake. They will bake a little faster on the stone than if on baking sheets.)
- Small loaves should bake for 15-22 minutes, a large loaf bakes for 20-27 minutes. The crust should be fairly golden brown, and firm to the touch.
- Remove the bread from the oven and let it cool on the pan. After a minute or two, brush the tops with soft butter and sprinkle with a pinch of salt. Slice and serve while warm or once cooled.
You might also like:

