I had the opportunity last week to make 3 cakes for one weekend. THREE!
Needless to say it was a crazy, busy few days, and I’m grateful to all those who helped me by watching my kids, or running to the store for me…five times. (read: my husband.)
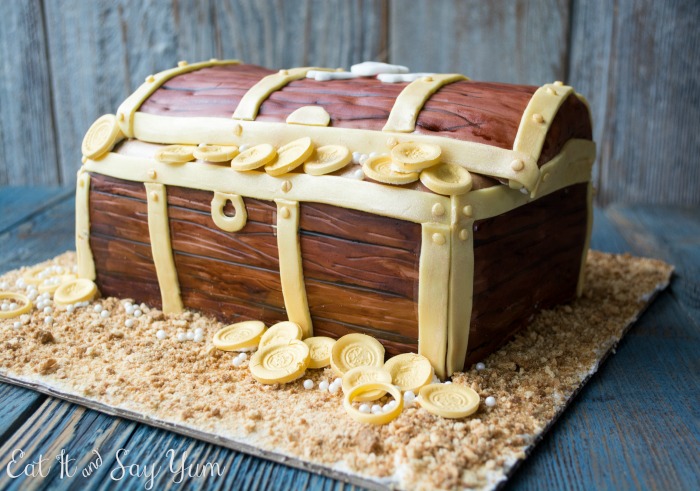
The first cake was a Buried Treasure Chest Cake as a groom’s cake.
The other two cakes actually went together. So, only two events, but still lots of cake to make and decorate.
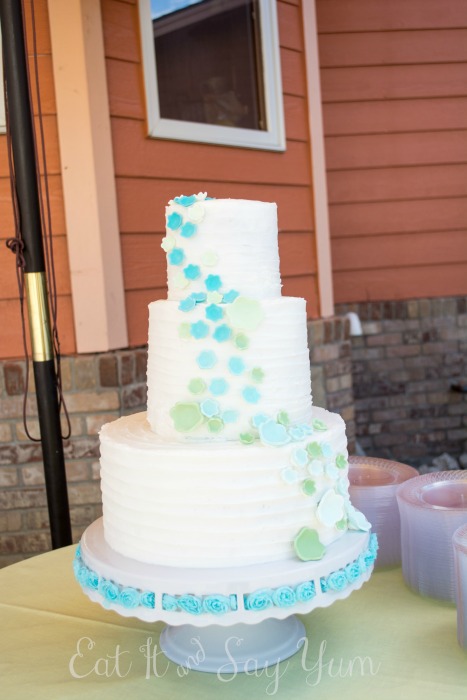
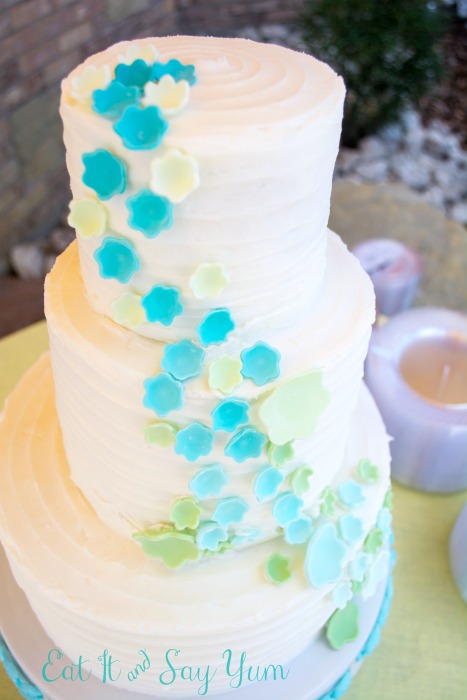
The two cakes were for a bride that wanted a simple white cake with edible aqua and mint flowers.
I had a hard time finding flowers that were naturally aqua and/ or mint that I could make out of fondant. I didn’t want to do a flower that was supposed to look real, but be in the wrong color.
So I chose to do more of a generic flower, that was simple, but still had the right colors.
I also, didn’t have a sample of the exact tones wanted in the two colors. My solution? Do the flowers in ombre so that every shade of those two colors was covered. Now I was guaranteed to match at least something.
The wedding reception was outdoors, and it was a hot day. We positioned a large, outdoor umbrella over the cake to help it stay cool. And it worked great, but the white from the cake was definitely reflecting some of the yellow from the umbrella and the coral from the house.
I have really fallen in love with these horizontal stripes on cakes. I did this same method on my Carrot Cake and my Raspberry Layer Cake. It is an easy technique that still provides a stunning, yet simple look. 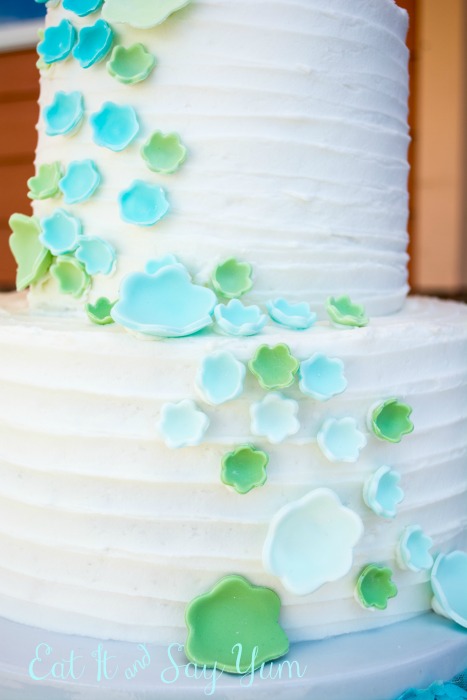
The bottom tier had three layers of cake. The middle had six layers, and the top was four layers. Each layer was chocolate cake filled with a raspberry filling, as requested. 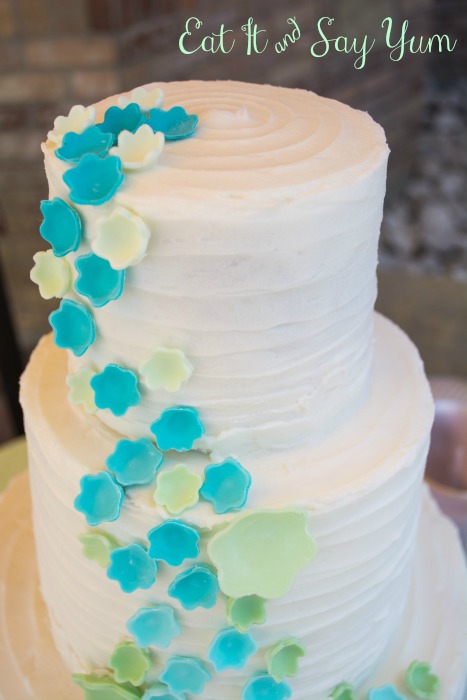 The second cake for this wedding was a sheet cake that matched this three tier cake. Unfortunately, I didn’t get any pictures of it. I was also helping with the catering of the wedding and didn’t have tons of time to take pictures.
Anyway, I was happy with the cakes, and so were the guests. Every piece of cake was eaten, including the pile of crumbs left over from cutting and serving the cake. 🙂
For today’s recipe I am sharing the white butter cream frosting that I used on this cake. It makes a large batch, because I needed a lot of frosting. With that being said, I still made a few batches to get both cakes done.
Ingredients
- 1/2 cup butter
- 1 1/2 cups shortening
- 2 tsp clear vanilla
- 4+ Tbs milk
- 8 cups powdered sugar
Instructions
- Cream the butter and shortening together, til smooth. Add the vanilla and beat again. Add the powdered sugar, about 2-4 cups at a time, beating well after each addition. Scrape the sides of the bowl when necessary. Frosting will be very thick, if too thick to mix add half of the milk before adding the rest of the powdered sugar.
- Add the milk 2 Tbs at a time, and beat again. The frosting will still be fairly thick, this is a good consistency for piping a a ring around the inside layers of cakes to hold in a filling. Add more milk. 1 Tbs at a time, and beat until light and fluffy, to get the consistency you want. Be careful not to add too much milk. Test the consistency with a frosting spreader for a better idea of how it will be to spread.
- Frost and fill cakes as desired.
This frosting sets nicely, and holds it’s shape fairly well, even on a warm day. It doesn’t get really crusty, which might sound weird, but some people are looking for crusting recipes.
See where I link up.
You might also like:
Carrot Cake with Ginger Snap Crumbles


That turned out beautiful! I love them ombre! Thank you so much for sharing at the Merry Monday Link Party. Hope to see you again next week!
Thanks, Amanda!
What a beautiful cake! Thank you for for sharing this at the Merry Monday linky party!
Thanks, Misty! 🙂
Gorgeous! Pinned. Lou Lou Girls