
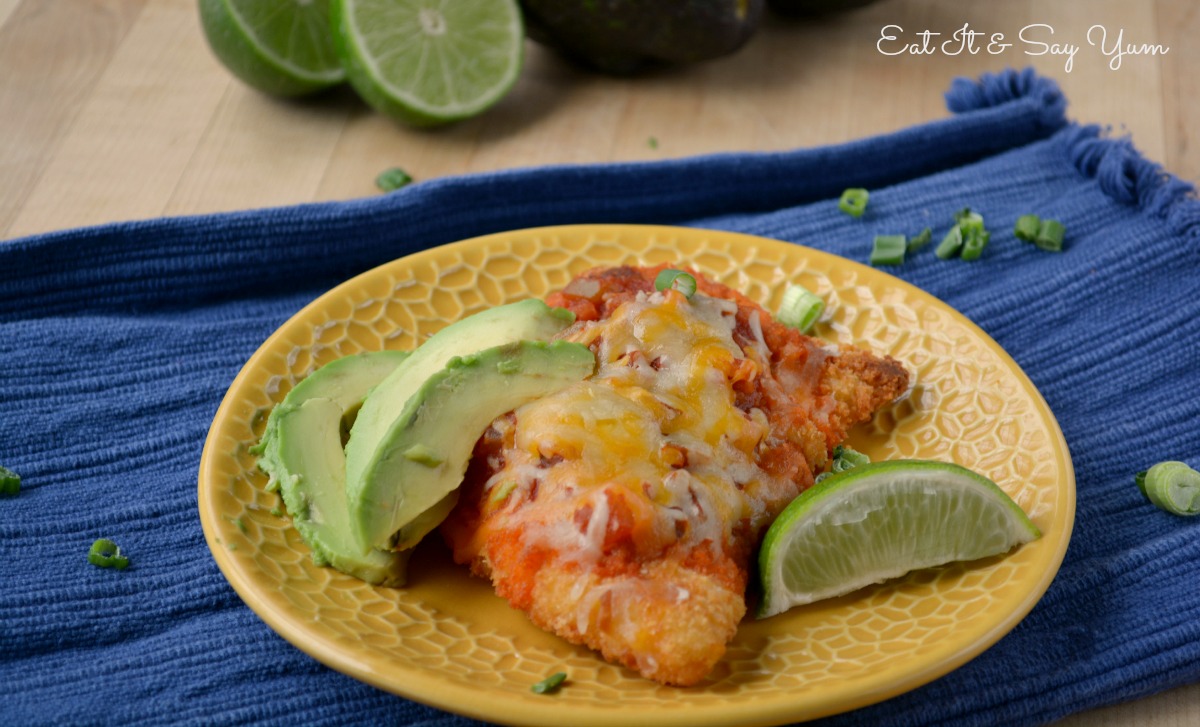
Before I was even dating my husband, he taught me to make this Crispy Salsa Chicken. It is so easy, even a single guy in college was making it.
But it’s so good, I still make it, to this day.
It’s so easy in fact, you CAN get away without actually ‘making’ anything. I use pre-breaded, raw, chicken breasts, or chicken tenders.
If I don’t have my own canned salsa on hand, I use Pace Thick and Chunky Salsa. Any brand will work though. I do love to make my own Pico de Gallo when I serve Mexican food, but in this case I like the thick sauce that comes from the tomatoes being cooked and canned when making salsa.
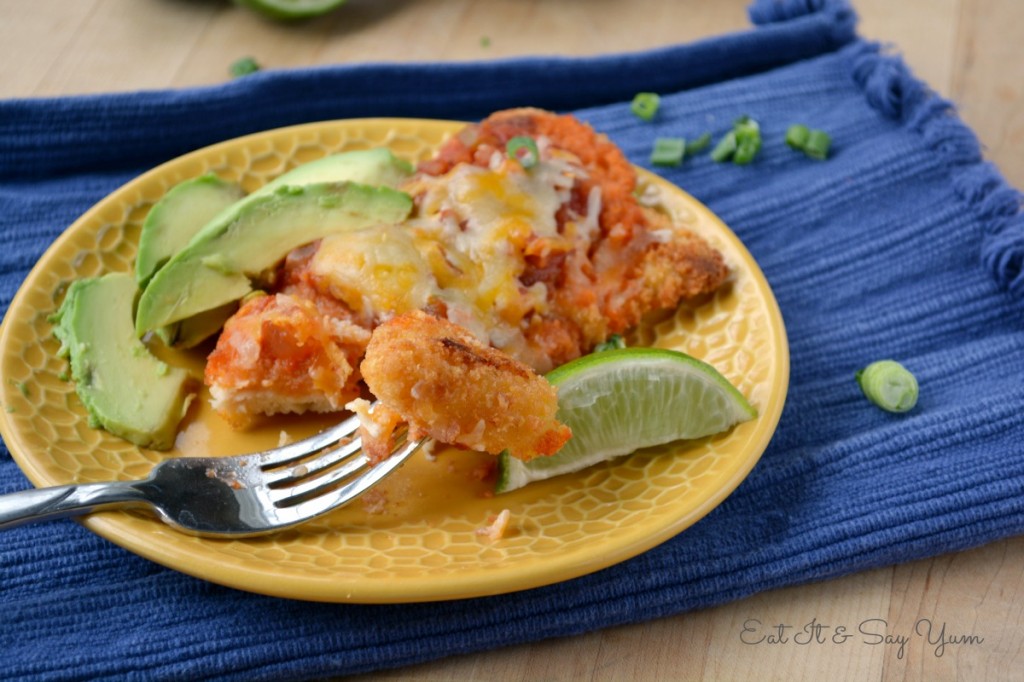
So, I cook the chicken according to package directions. When there is about 7 minutes cook time remaining, I turn the chicken breasts, or tenders, over and spoon some of the salsa right on top. Return the chicken to the oven and cook until done, according to package directions. Then I sprinkle grated or sliced cheese over the salsa and place it all under the broiler for a minute, to get the cheese nice and melty.
So easy. If you want to do more work, and not eat the pre-breaded chicken breasts, you can tenderize and bread your own chicken. Or you can just tenderize the meat, and skip the breading, That gives you a few less calories if you are looking for a lighter option.
To tenderize chicken breasts lay the breasts on a cutting board and cover with plastic wrap, or place in a ziplock bag. Use a meat mallet, or other hard and heavy object (like the back side of a sturdy ice cream scoop), and beat the chicken all over, on both sides. Salt and pepper the chicken to your liking, before breading. Even if you don’t bread the chicken, I would still, lightly, salt and pepper it.
This dish will be included in my Healthier Menu Plan for week 3. So check back on Monday to see it, and other recipes there.

Ingredients
- 4 (or more) pre-breaded, raw chicken breasts or chicken tenders OR chicken breasts that you have tenderized, and breaded
- 1 jar of salsa
- 1 cup grated cheese
- sliced avocado, and lime juice as garnishes are optional
Instructions
- Cook chicken according to package directions. Or about 20-25 minutes at 400 degrees if not using pre-breaded chicken, until juices are clear and chicken is cooked through. When there is about 7 minutes left on the timer, turn the chicken breasts over. Spoon about 1/4 cup of salsa on each piece of chicken. Return the chicken to the oven for the remainder of the cooking time. Once chicken is cooked through, sprinkle about 1/4 cup of cheese over the top of each piece of chicken, and place under the broiler for about a minute. Watch carefully so you don’t burn it.
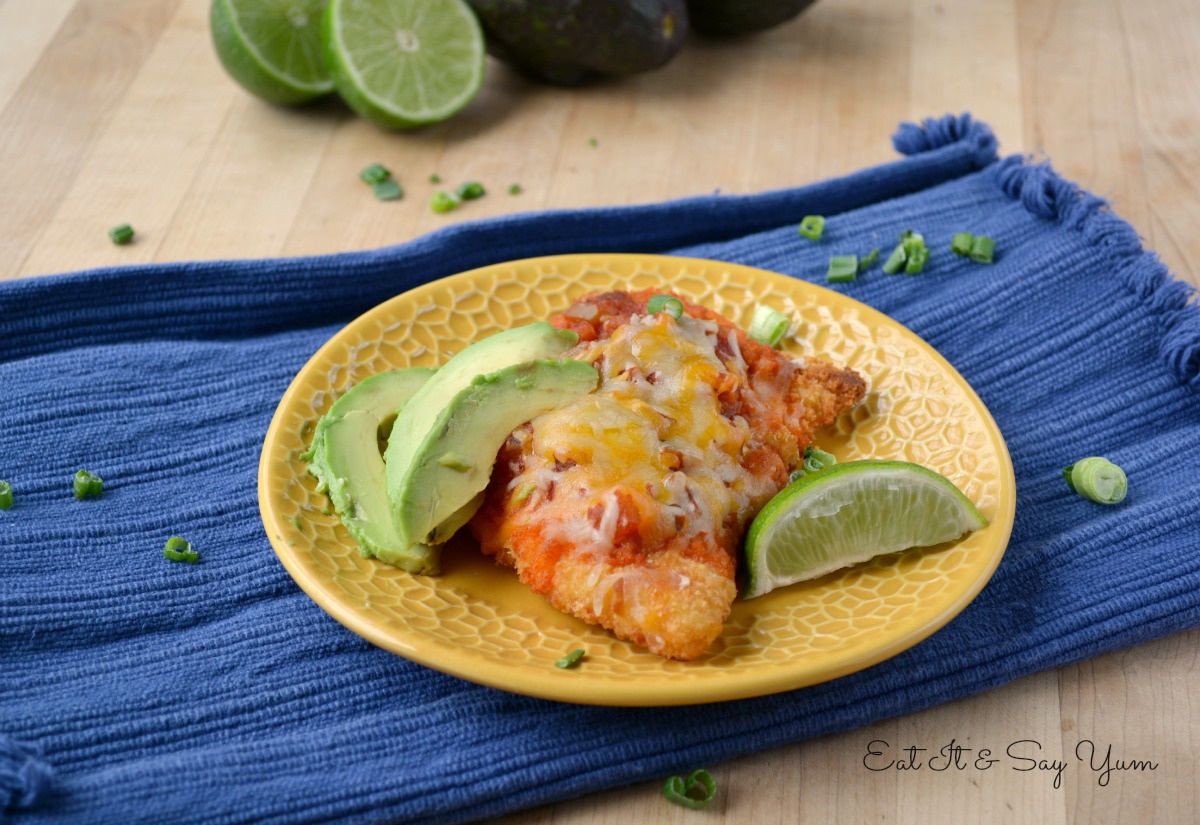
- Serve hot. You can serve the chicken with sliced avocado, and/ or fresh lime juice. Rice would be a good side dish.


Great pic!
Thanks, Sandi! 🙂
I tenderize my chicken by beating it with an ice cream scoop too! Hehe. 🙂
Sometimes you have to get creative, huh?! I have also used my garlic press, pretty much anything heavy.