
Hi friends! Are you getting pumped for the holidays?! I think I just finished all my shopping, so that’s a relief. Now I can move on to wrapping. Yay! I actually really like wrapping presents. 🙂 Totally gets me in the holiday spirit.
Anyway, I’ve had this idea for this cake in my head for a little bit now, and since my husband was having a birthday, I figured I’d try the cake out on his special day.

{If you like what you see here, please PIN and SHARE this post with your friends!}
This post is just the tutorial for decorating the cake. So you can use any cake recipe, or frosting recipe that you want.
Once you cakes are baked, get them cool and leveled. Then stack and fill them and crumb coat them. That means give them a coating of frosting that isn’t too thick, so you can decorate over that and not pick up crumbs into your final coat of frosting. The top of the cake should have a nice layer of frosting, because you aren’t really going to put anymore up there. So make it pretty. Chill the cake before starting the decorating process. (About 20 minutes in the freezer is great.)
You need two piping bags, one with white frosting and one with red frosting. About 1 cup of frosting in each bag. Start piping a ring of frosting around the bottom of the cake, then repeat just above that layer with the next color.
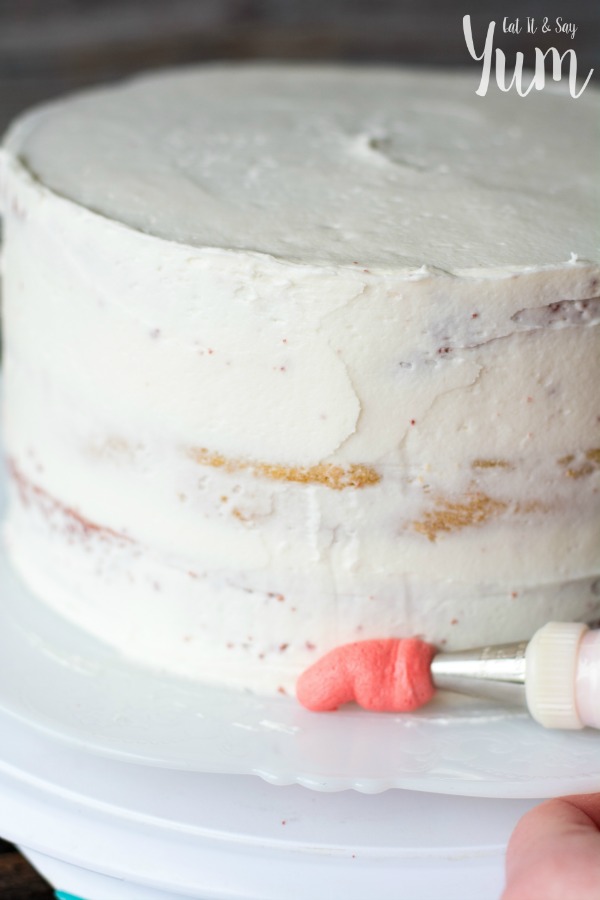
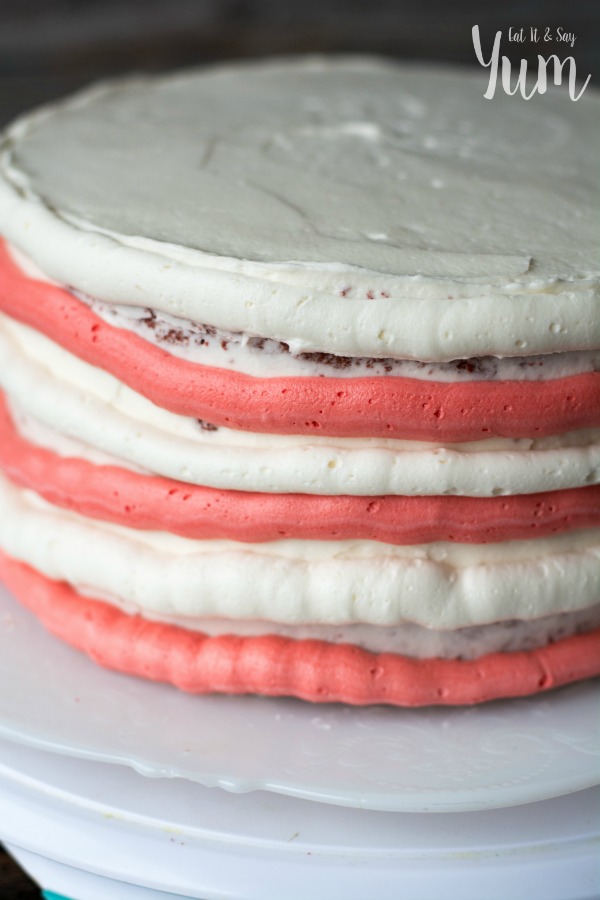
Keep repeating until you reach the top of the cake, alternating colors as you go. And don’t put the layers right against each other, leave a little space.
So, it’s not pretty yet. But that’s about how it should look.
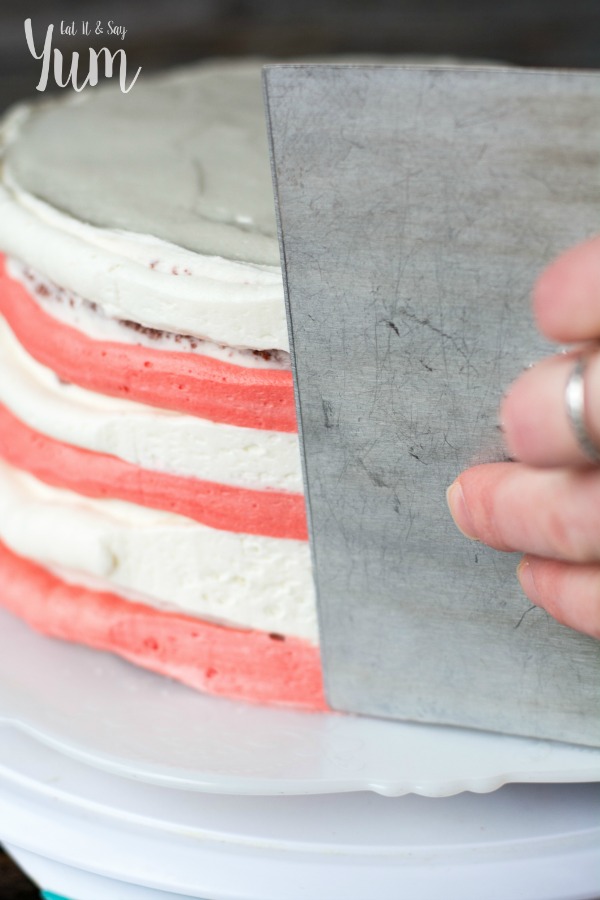
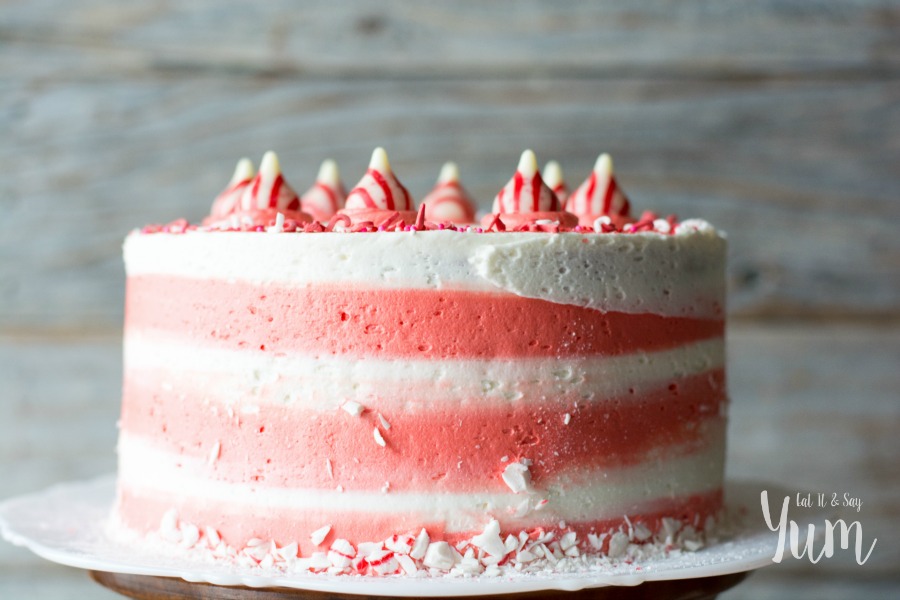
Next, use a metal scraper, or a big offset spatula, to gently smooth the edges and blend the colors together. I have my cake on a turntable, but you can gently turn the plate by hand if you don’t have one.
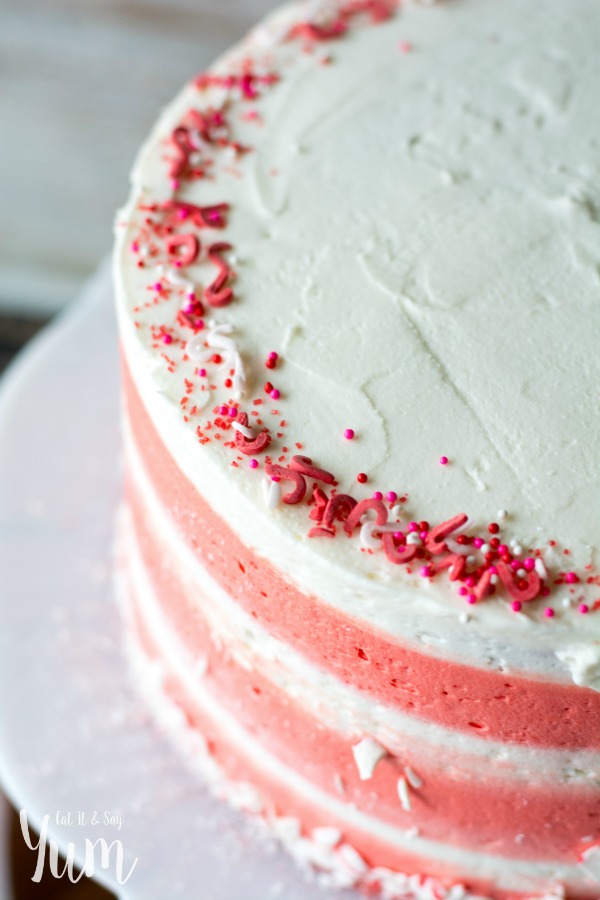
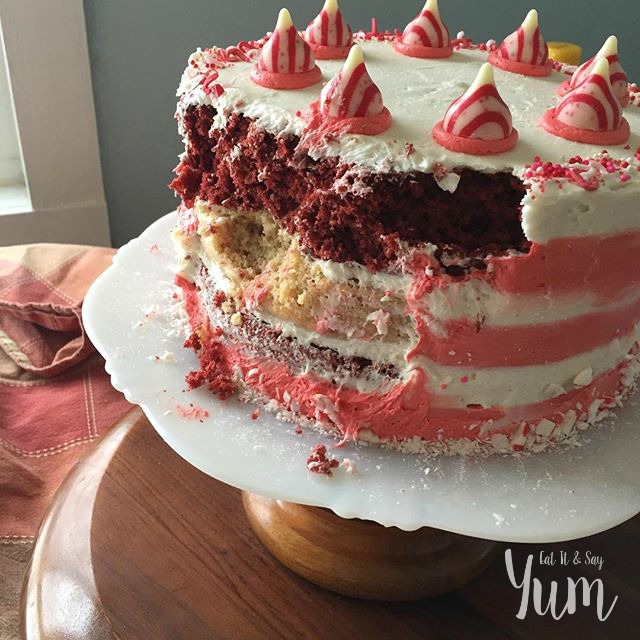
Next, I mixed a few different kinds of sprinkles together and just added them around the edge of the cake. I also crushed up 4-5 peppermints, or mini candy canes, and pressed them around the bottom of the cake. Any pieces that fell off the cake and onto the plate I just pressed back onto the cake with a clean frosting spatula.
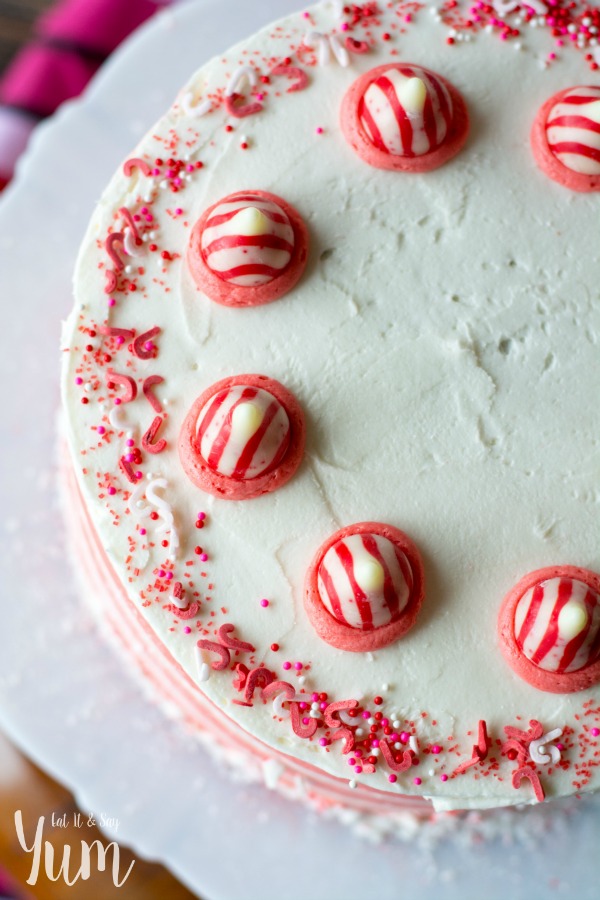
I used the red frosting in the piping bag to pipe 8 little mounds around the edge of the cake. Start on one side, then go straight across from it- so you have one on each half of the cake. Then pipe a dollop in between each of those, repeating until you have 8 little mounds, all equally spaced. Top those with a Candy Cane Hershey Kiss.
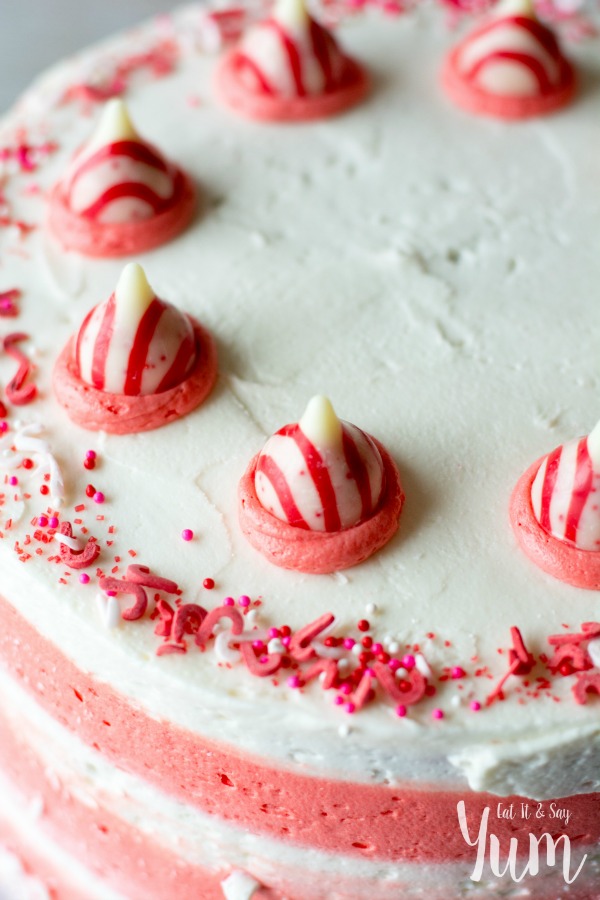
I love the way the red and white frostings blend into each other. And you can’t go wrong with all those yummy candies and sprinkles!
So pretty. And perfect for the holidays.
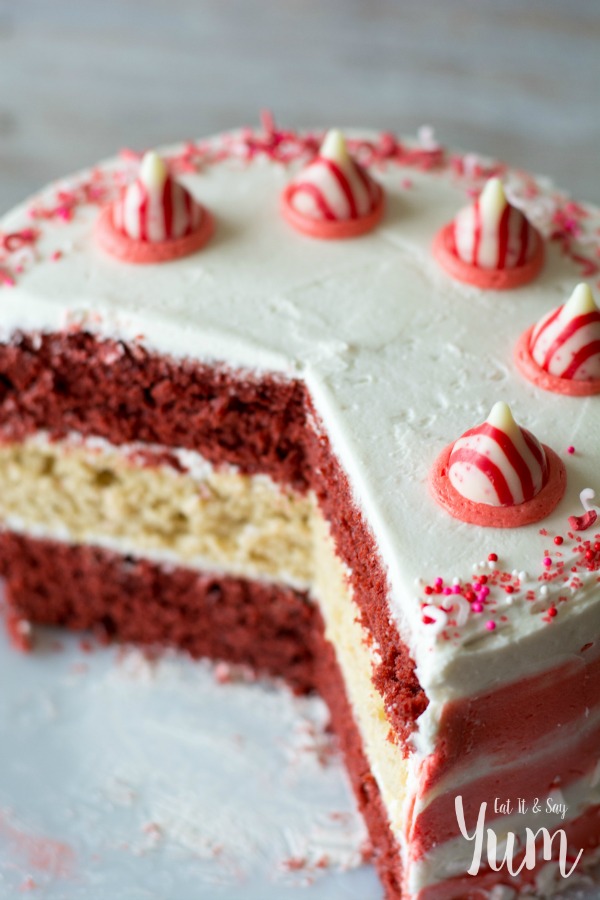
I even took the candy cane theme a step further and did two red velvet layers and one vanilla layer of cake.
One final tip, don’t leave your cake where your dog can get it! Aaagghhh!!
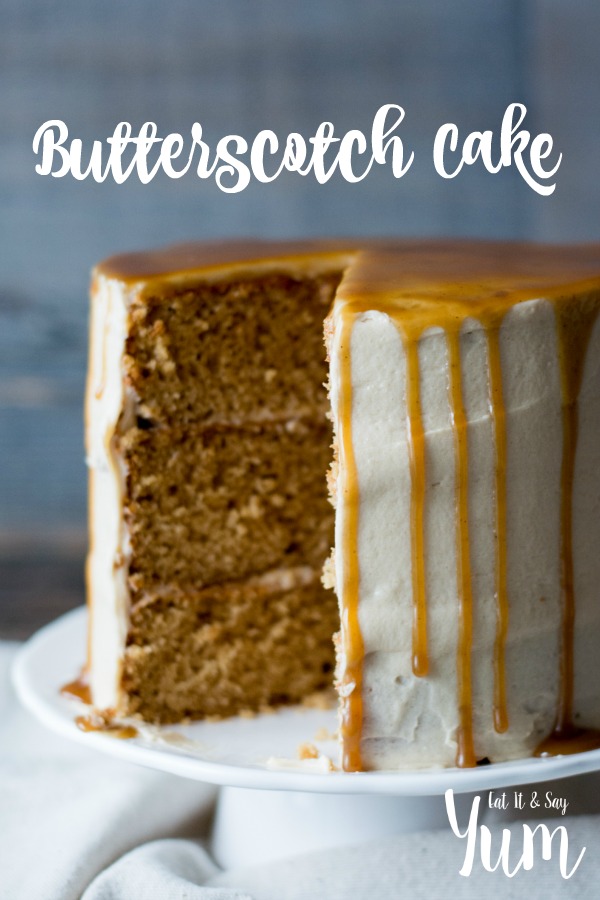
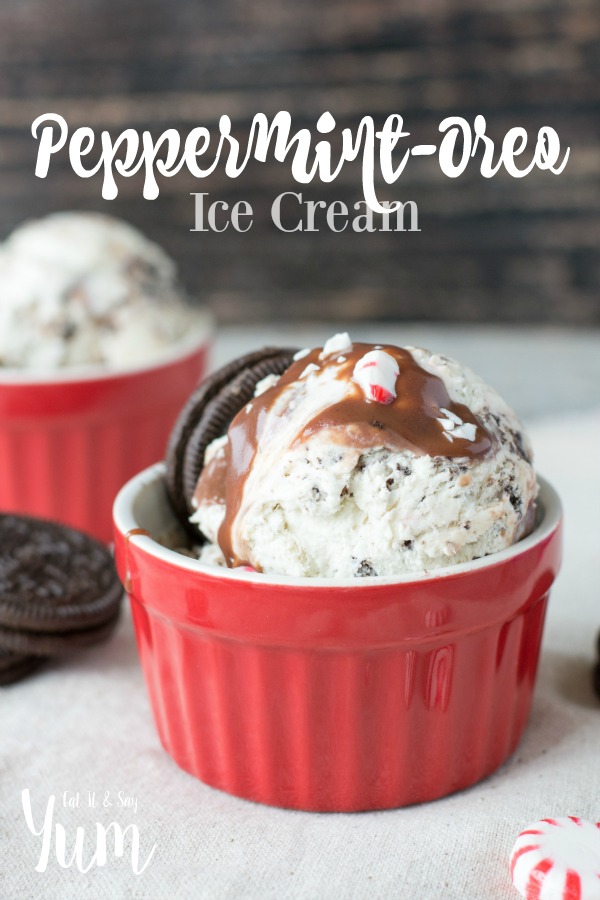
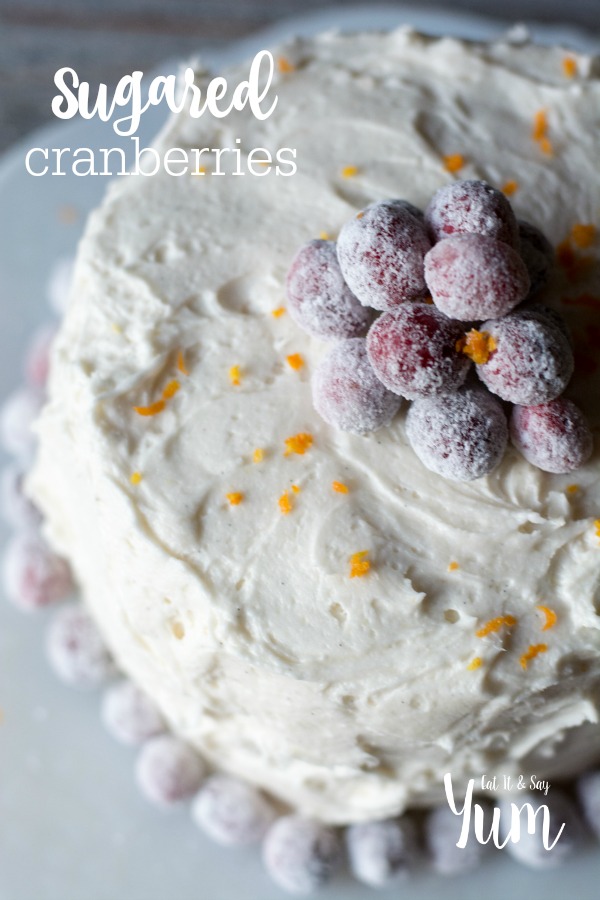
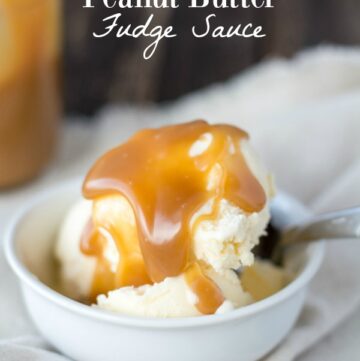
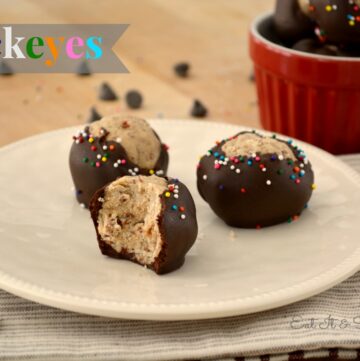
You might also like:


This is a gorgeous cake! Your photography is stunning! And I love the idea of putting the dots directly across from each other so you can space them out evenly. I would have just gone around the cake and hoped that it looked good!
Thanks, Melissa! That’s something I’ve learned from experience! Haha. 🙂
Since I know that you don’t know any bad words I’m just wondering how you expressed your frustration to your dog when she attacked yor beautiful cake. By the way, when will your recipe be posted for roast puppy?