
Hi there! I”m super excited to tell you that I am going to my first blog conference! It’s the Build Your Blog Conference, by Six Sisters. I leave in a couple weeks, and I can’t wait!
I’ve been doing lots of reading up on what I should expect, how I should prepare, and what I need to bring.
From everything I’ve read, it seems that business cards are one of the most important things to bring to a blog conference. I’m going to be meeting lots of people, and I want them to remember me.
So, naturally I set out to make some business cards. There are lots of sites out there that have good deals on cards. So I checked them out. I found that they weren’t too difficult to use, but I didn’t really care for any of their pre-made card designs. They have the option to upload your own designs, but it has to be a FINAL design. No moving things around, or changing colors if you are uploading your own images.
So I went to PicMonkey, I use it all the time, and knew I could figure things out.
So, I want to share my process with you, in case any one else is wanting to make business cards.
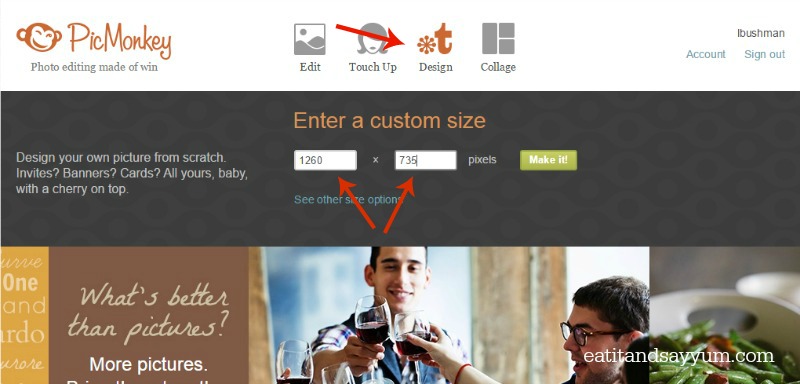
Step 1: Go to PicMonkey.com and hover over ‘DESIGN.’ A few options will open up right under the design button, select custom. Then enter in 1260 x 735 pixels into the boxes provided. Click ‘MAKE It!’
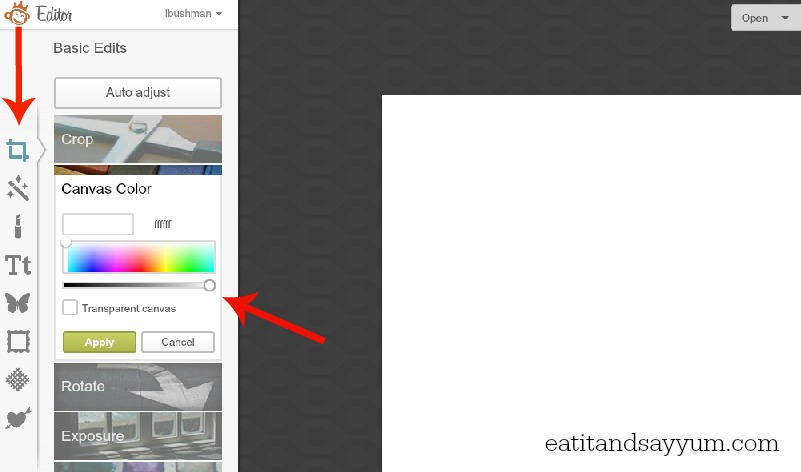
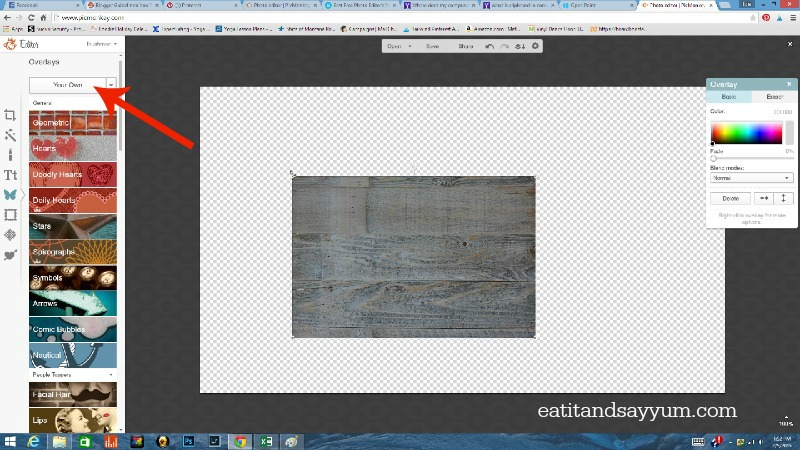
Step 2: This screen should automatically come up. You can select a color for your back ground, or a transparent back ground. I used transparent, because I wanted to use a photo I had for my back ground. Make your selection, then press “APPLY.”
Step 3: Because I was choosing my own back ground, (the gray and white tiles are showing up because I selected transparent in the previous step) I click on the buttterfly/ ‘Overlays’ button.
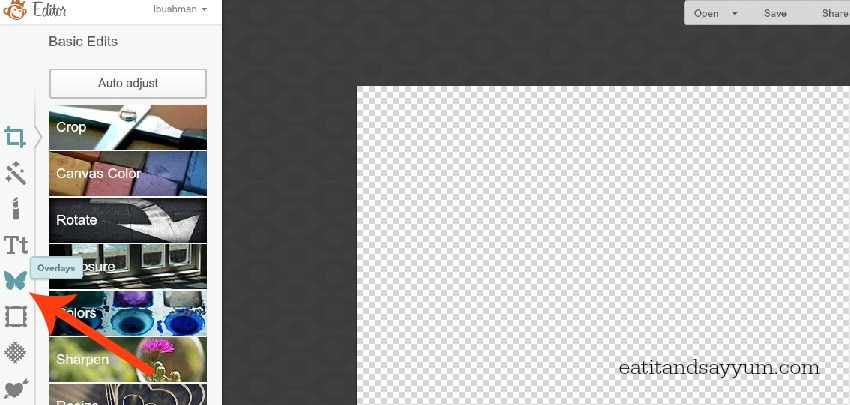
Step 4: Now select the ‘Your Own’ option. A box will come up with your folders, you can select the image you want as your back ground. If you didn’t select transparent, and are just using a solid color from PicMonkey, you can skip this part. My back ground is the gray wood grain photo seen below.
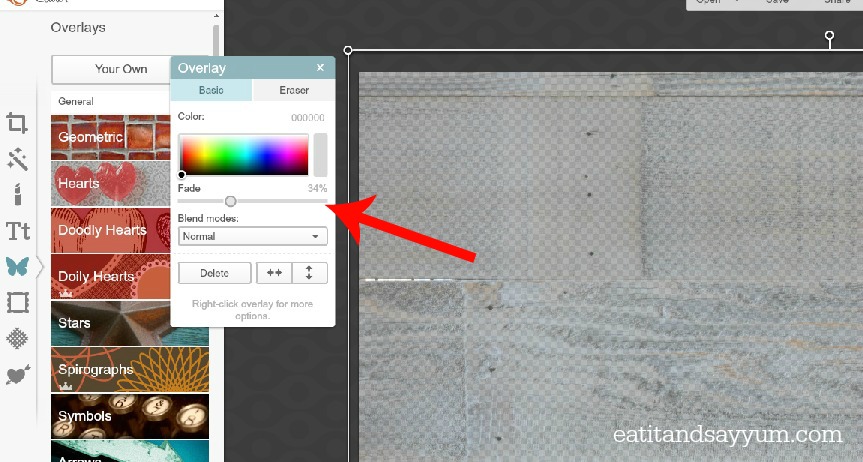
Step 5: Now I can stretch my photo to fit the space, using the white lines around my image. Just drag them to the edges of the business card, I went a little beyond the edges. I also used the ‘Fade’ option to lighten up my back ground.
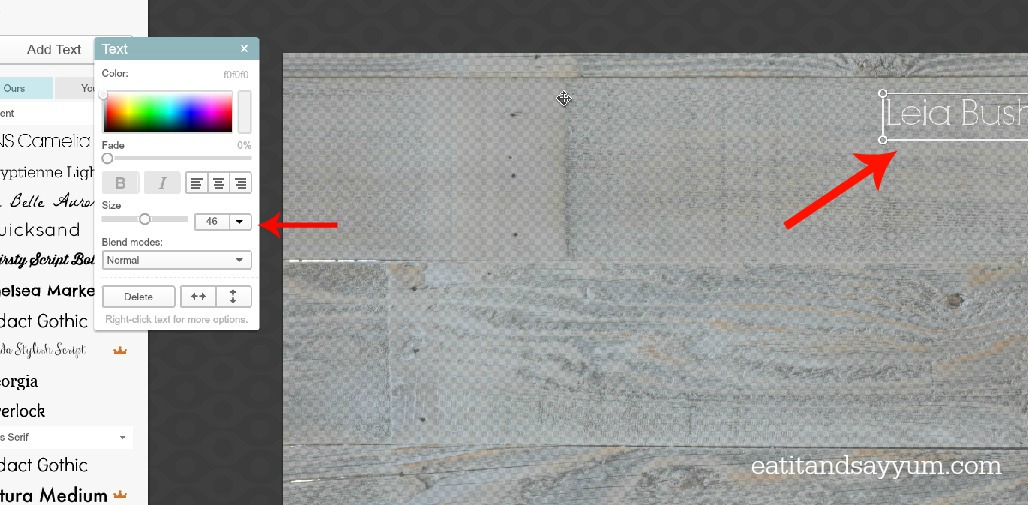
Step 6: Now you can add your text. Select the ‘Tt’ on the left side and then choose the font you want. Click ‘Add Text’ and a text box that you can type in will appear. I added my name, seems like a good thing to have on a business card. 😉 Again you can change the color, size, alignment, etc in the smaller box that pops up.
Step 7: Now, I selected the ‘Overlays’ button again (the butterfly), and ‘Your Own,’ because I wanted to add my own logo. This is a file that I already had created, and it has a transparent back ground. If you don’t have a logo to use, you can just add your blog/ business name with a new text box. There are also lots of overlays on PicMonkey you can use if you want a design or picture.

Once I had the card looking how I wanted it, I saved my project as ‘front’ or something to that affect. Then I started a new project, the same way as this one, but made it the back of my business card.
Once you have your images the way you want you can upload them to any of those business card sites. They usually have some good deals going. I got mine through Staples.
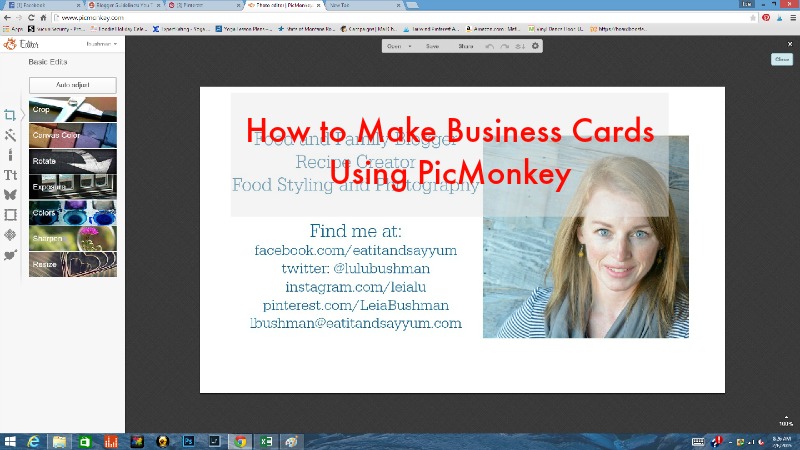
Here’s my finished product.
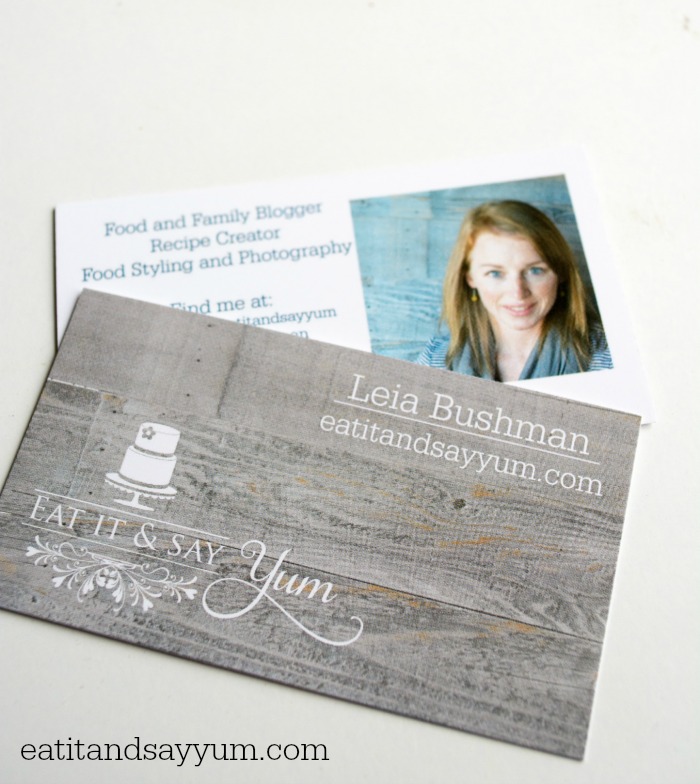
I decided to do both sides, because there was a lot of information I wanted on my cards. I’m sure I could have fit everything on one side, but they would have been crowded and the font would have had to be really small, which would make things hard to read.
I wanted to have my picture so that people would remember me. Just looking at a name on a card doesn’t always bring the right person to mind. This way, there’s no confusion. When it comes to building my blog/ business and making contacts with brands, I WANT to be REMEMBERED!
Some other points to think about, the type of paper being used, and the finish on them. I used a Matte finish in case people I give these to want to make a note on them. Ya know, they might want to write “This lady was super awesome and I should contact her ASAP!” Or something like that. 😉 The paper is also nice and thick, and I didn’t even have to select that.
My cards arrived in about a week. It wasn’t a long wait, which is good because I was excited to get them.
Anyway, there’s my two cents on the whole process.
This is NOT a sponsored post by Staples, or PIcMonkey, or anyone else. I just had a good experience with both of them. These are my own opinions.
You might also like:


[…] Banana Bread / How To Make Business Cards in PicMonkey / Stuffed Sole with Roasted Veggie […]